Cheap DIY Antlers !
- By Sai
- 1735 views
- Step 1
First, find a reference photo. Look to google for this (or go into nature and find a horned animal).
 Step 2
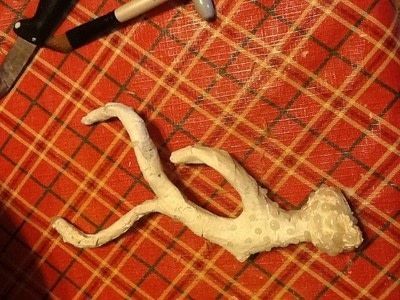
Create a base structure out of tin foil based on the reference photo. start with the core and add branches. Attach the branches via hot glue.
NOTE: you can get rid of 'spidery' remains using a lighter, but be careful to avoid falling hot glue.
 Step 3
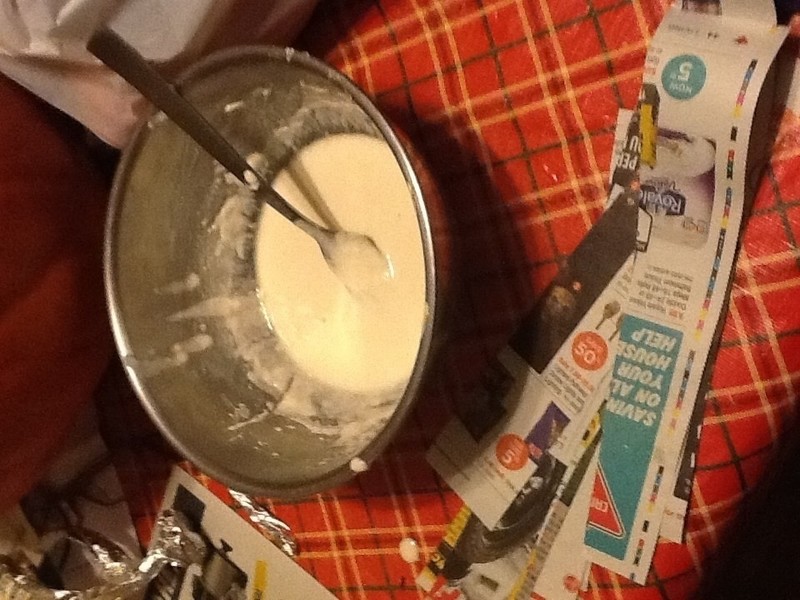
Create Paper Mache: I used 2/3 cups flour, 1/3 cup water. Make sure to get rid of the 'bumps'.
 Step 4
Use small strips of newspaper. (thin AND small).
 Step 5
Thicken up the Paper Mache.
Use this for the base of the antler (it will take a while to dry). Step 6
Hang to dry overnight. When it is dry, remake Paper Mache and add a second layer.
OPTIONAL: add a layer of plaster cloth wrap. Use thin strips. This will make the antler more sturdy and it will last better when exposed to rain. The cost of this cloth can start as low as $4.
 Step 7
When everything is completely dry, paint it white. Use 2-4 layers of white paint.
Add 'dots' using hot glue. use more around the base and the branches.
 Step 8
Paint brown. The tips use one layer and the base uses 5 (for shading and darkening).
When dry, hot glue onto a headband.
 Step 9
To style, wrap hair around the base of the antlers.